
On this page
01Before you start: one quick check02Mistake 1: testing before your hands are fully dry03Mistake 2: rushing the finger-prick or squeezing hard04Mistake 3: applying blood too soon or topping up a strip05After the attempt: record, dispose and ask for helpPrepare first. Follow your model's steps.
Clean & dryWash and dry hands before testing.
Use fresh suppliesOne new strip and one sterile lancet per test.
Wait, then sampleUse the strip tip only after the ready prompt.
Dispose safelyUsed lancets belong in a sharps container.
Before you start: one quick check
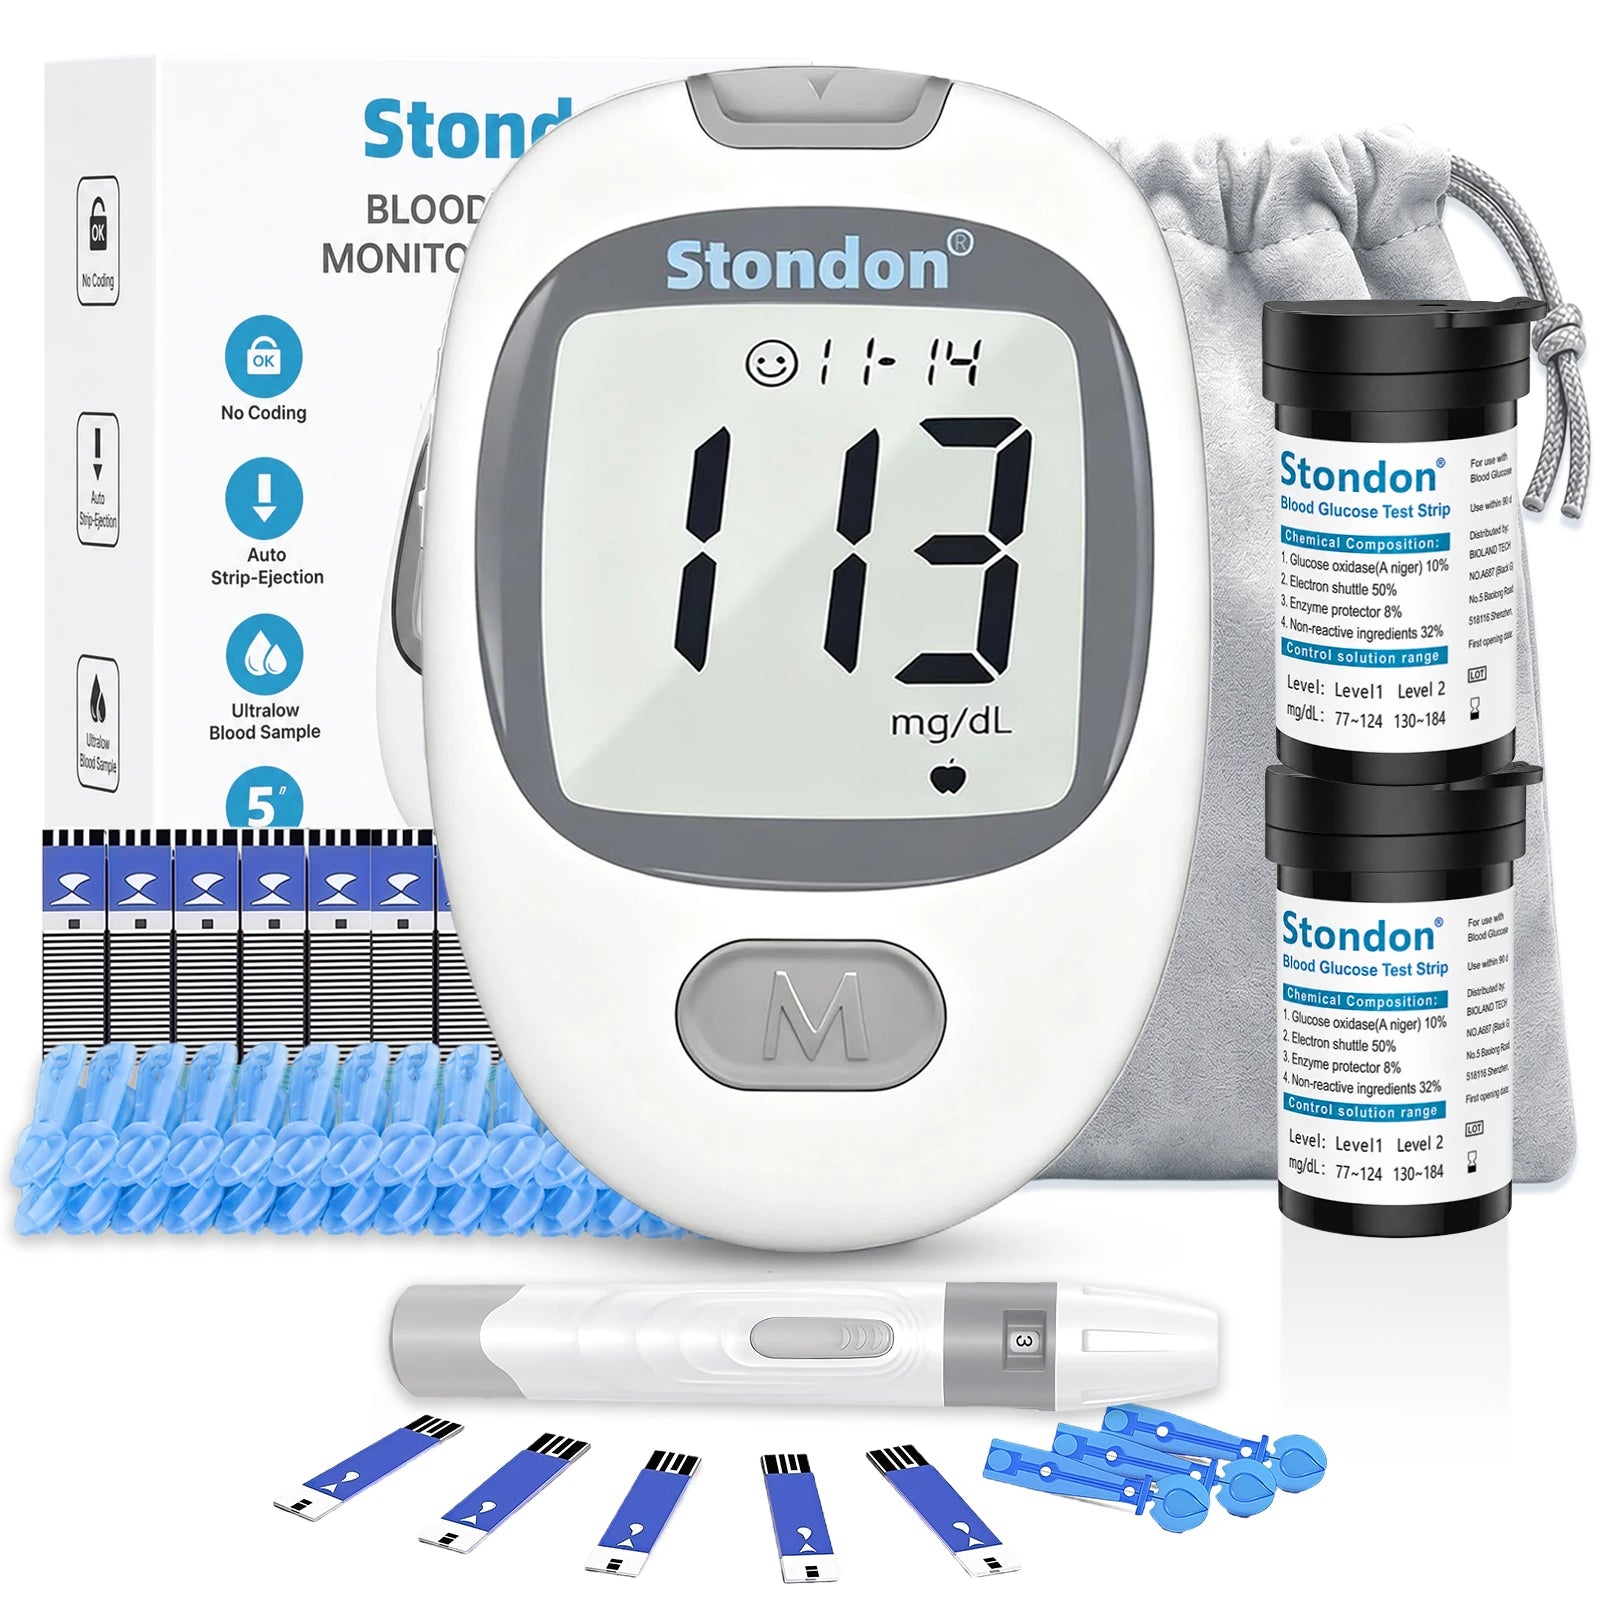
Put your meter, a compatible test strip, your lancing device with a new sterile lancet, clean tissue or gauze, and a suitable sharps container within reach. Choose a clean, dry surface with enough light to see the strip and screen.
Already have your supplies? You can move straight to the preparation below. For refill sizes and compatibility, see our test strips and lancets article.
Mistake 1: testing before your hands are fully dry
Wash with soap and warm water, then dry your hands and the sampling site thoroughly. Food or sugar on a finger can affect the sample. Avoid handling strips with wet fingers.
If your hands are cold, warm them gently first. Take a moment to dry them rather than rushing from the sink to the meter.
Mistake 2: rushing the finger-prick or squeezing hard
It is understandable to hesitate before your first finger-prick. You may feel a brief sting. Sit comfortably and give yourself time; you do not need to complete the test quickly.
Use a new sterile lancet each time and follow your lancing-device instructions for the depth setting. There is no single setting that suits everyone's skin. If you are unsure, ask a healthcare professional to demonstrate.
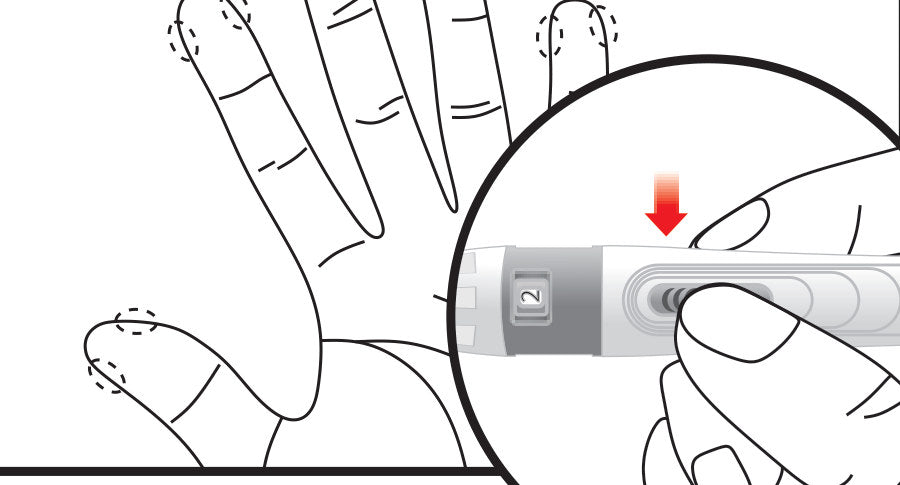
Use the side of the fingertip as shown in your model's instructions. Let a drop form without forcefully pinching the puncture site. If a sample is difficult to obtain, pause and review the instructions instead of repeatedly squeezing harder.
Mistake 3: applying blood too soon or topping up a strip
Two moments deserve particular attention on a first test: wait for the meter's blood-drop prompt before applying the sample, and let the strip's absorbent tip draw from the drop. Do not spread blood over its flat surface.
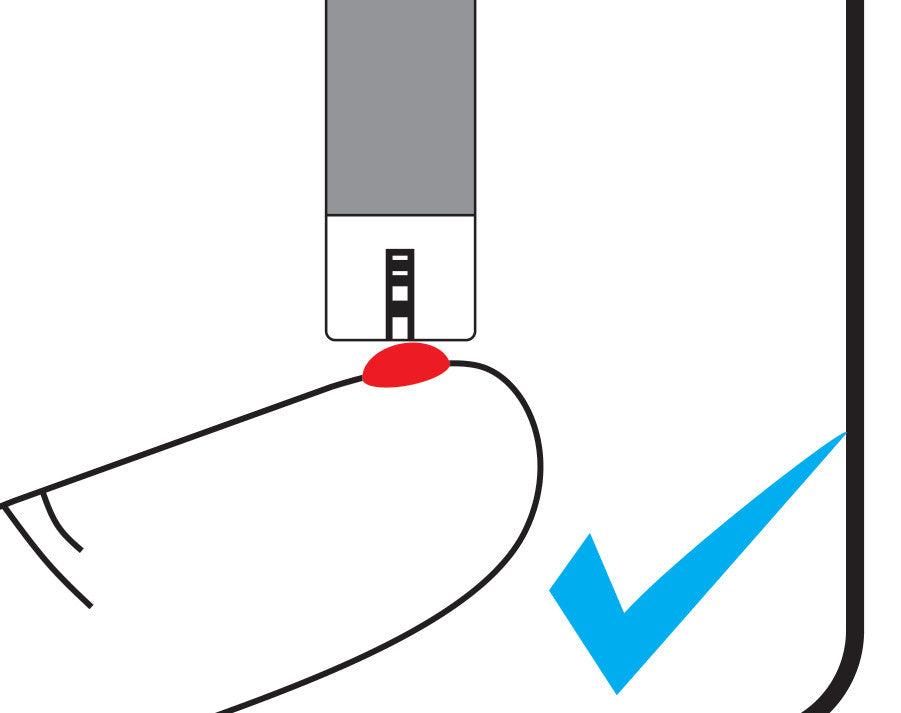
If the strip has not filled correctly or the countdown does not start, do not add more blood to the used strip. Follow the model's restart instructions and use a fresh strip.
After the attempt: record, dispose and ask for help
Record the result as your healthcare team has advised. Put the used lancet in a suitable sharps container; handle used strips according to the supplied instructions and local waste rules. The meter's strip ejector does not remove the lancet from the lancing device.
| If this happens | Your next step |
|---|---|
| An error or unfamiliar symbol appears | Note exactly what the screen shows and check the matching model's support page. |
| The reading seems unexpected | Review hand preparation and sampling, then follow the manual and your care plan. If the result does not fit how you feel, seek medical advice. |
| You still cannot complete a test | Ask for help rather than repeatedly using more strips. Have your meter model, screen message and strip packaging information ready. |
Your healthcare team can advise when to test and what your results mean. Do not change medication based on this article. If you feel seriously unwell, seek urgent medical help.
Keep your model instructions close.
Use the exact steps for your meter when you are ready to begin.
This article provides general product information, not a diagnosis or a treatment plan. It does not replace the instructions supplied with your meter and strips. Follow your healthcare professional's advice on testing frequency, individual glucose targets and treatment.
References & product information
- CDC: monitoring your blood sugar
- FDA: getting the most out of your glucose meter
- FDA: disposing of needles and other sharps
- Stondon model instructions and strip instructions supplied in the project materials.
 Stondon ST-100 Blood Glucose Test Strips & Lancets
 Stondon ST-50 Blood Glucose Test Strips & Lancets
 Stondon G-520 Slim Blood Glucose Monitor Kit
 Stondon G-430 Classic Blood Glucose Monitor Kit


